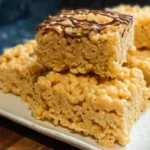
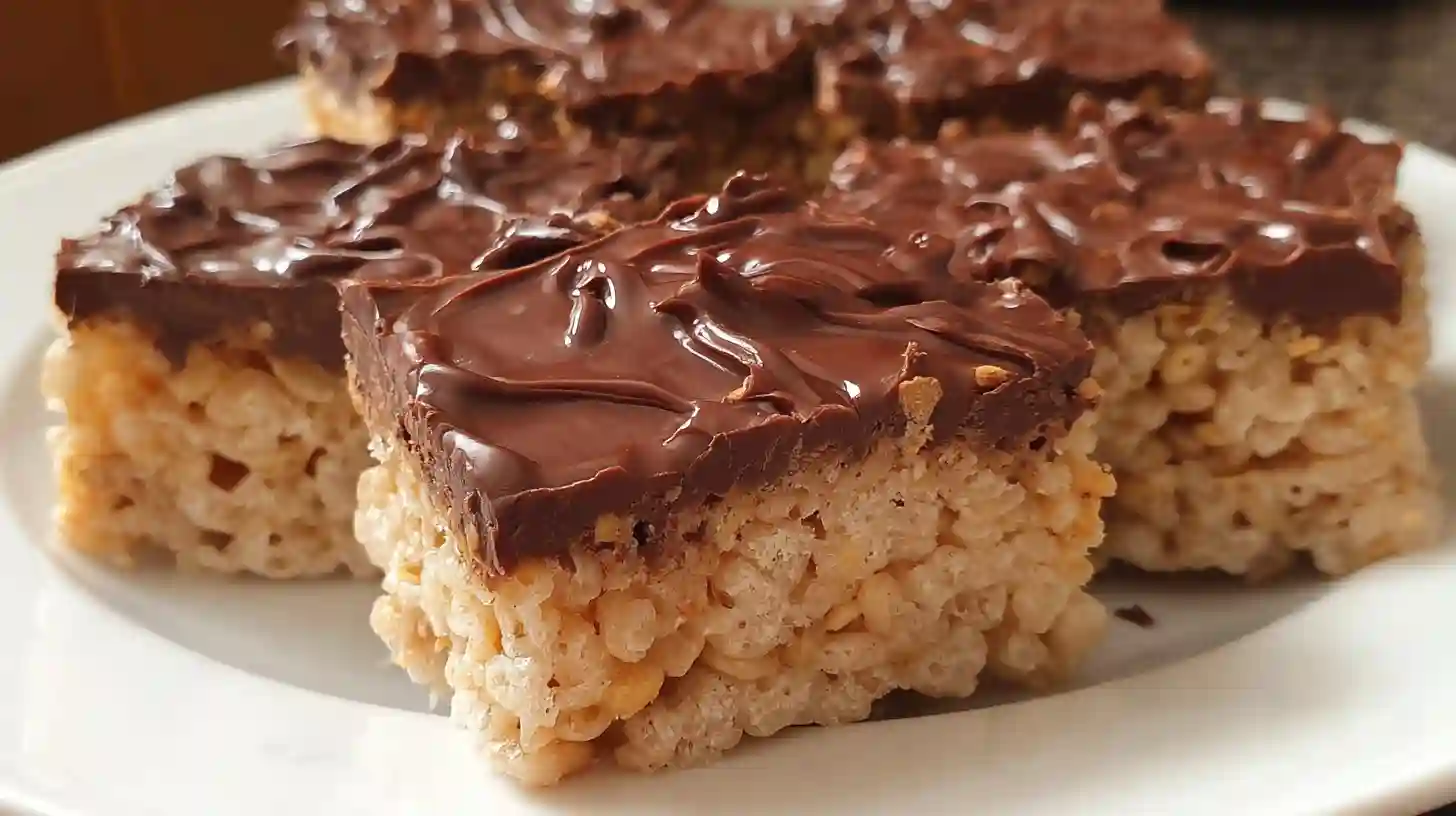
Chocolate Peanut Butter Rice Krispie Treats combine two classic flavors into one irresistible no-bake dessert that takes less than 20 minutes to make. I discovered this recipe during a hectic school week when my kids needed snacks for their class party, and I had almost no time to prepare anything elaborate. These Chocolate Peanut Butter Rice Krispie Treats became my secret weapon. The combination of gooey marshmallows, creamy peanut butter, crispy cereal, and rich chocolate creates a treat that appeals to both kids and adults.
What makes this recipe special is its simplicity. You don’t need an oven, fancy equipment, or professional baking skills. Just a pot, a pan, and about 15 minutes of active time. The chocolate layer on top adds an elegant touch that makes these treats look like you spent hours in the kitchen. I’ve made these peanut butter krispies countless times for birthday parties, school events, and family gatherings. They disappear faster than any other dessert I serve. The best part? You can make them ahead and store them for days, or even freeze them for future emergencies.
Table of Contents
Ingredients for Chocolate Peanut Butter Rice Krispie Treats
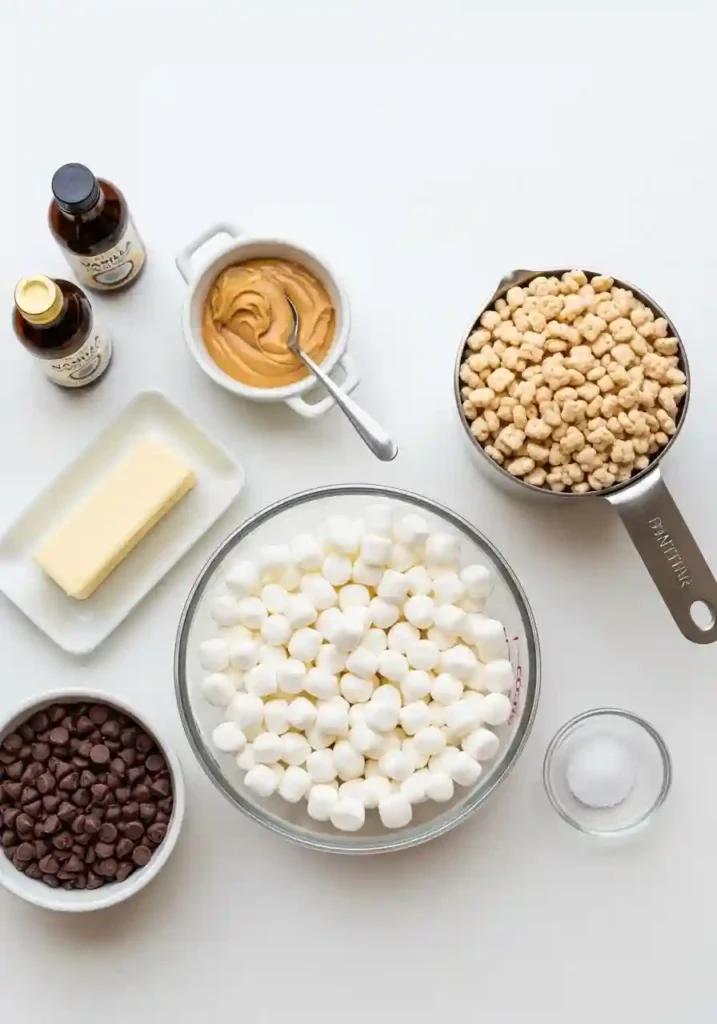
You need just seven simple ingredients to make these Chocolate Peanut Butter Rice Krispie Treats. Most of them are probably already in your pantry.
For the Base:
• 1/4 cup unsalted butter
• 5 cups mini marshmallows (one 10-ounce bag)
• 1/2 cup creamy peanut butter
• 1 teaspoon vanilla extract
• 1/4 teaspoon salt
• 6 cups Rice Krispies cereal
For the Chocolate Topping:
• 1 1/3 cups chocolate chips (about 8 ounces)
• 2 teaspoons coconut oil or vegetable oil
The butter adds richness while the marshmallows provide that signature sticky sweetness. Peanut butter gives these rice krispies with chocolate a distinctive flavor that sets them apart from traditional versions.
I recommend using mini marshmallows because they melt faster and more evenly. Regular-sized marshmallows work too, but you’ll need to stir longer.
For the chocolate layer, semi-sweet chocolate chips create a nice balance with the sweet base. However, you can use milk chocolate for extra sweetness or dark chocolate if you prefer less sugar.
The coconut oil helps thin the chocolate, making it smooth and glossy. It also prevents the chocolate from becoming too hard, which makes cutting easier.
Instructions: How to Make Chocolate Peanut Butter Rice Krispie Treats
Follow these straightforward steps to create the best rice krispie treats recipe you’ve ever tasted.
Step 1: Prepare Your Pan
Grease a 9×13-inch baking pan with butter or cooking spray. Don’t skip this step. It prevents sticking and makes removing the treats much easier later.
Step 2: Make the Marshmallow Mixture
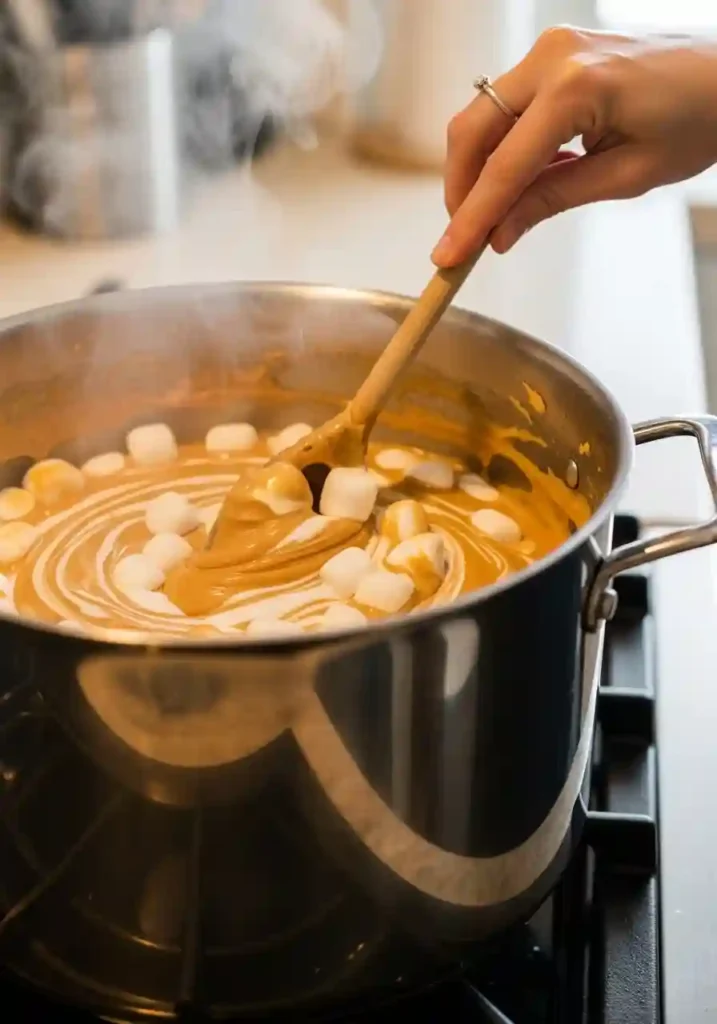
Place a large pot over low heat. Add the butter and let it melt completely. Next, add the mini marshmallows, peanut butter, vanilla extract, and salt.
Stir gently and constantly. The mixture will look lumpy at first, but keep stirring. Within 3 to 4 minutes, everything will melt together into a smooth, creamy mixture.
Remove the pot from heat immediately once everything melts. Overheating makes the treats hard and chewy instead of soft and gooey.
Step 3: Mix in the Cereal
Pour the Rice Krispies cereal into the pot. Fold gently with a rubber spatula until every piece of cereal gets coated with the marshmallow mixture.
Work quickly but carefully. The mixture starts to set as it cools, making it harder to spread later.
Step 4: Press Into the Pan
Transfer the mixture into your prepared pan. Use the spatula to spread it evenly.
Here’s a trick: spray your hands lightly with cooking spray, then gently press the mixture down. The spray prevents sticking to your hands. Apply even pressure across the entire pan to create a uniform thickness.
Step 5: Prepare the Chocolate Layer
Put the chocolate chips in a microwave-safe bowl. Microwave on medium power for 45 seconds. Stir, then microwave again for another 45 seconds.
The chocolate should look mostly melted with a few small chunks. Add the coconut oil and stir vigorously. The residual heat will melt any remaining chunks, creating a smooth, pourable chocolate.
Never microwave chocolate on high power. It burns easily and becomes grainy and unusable.
Step 6: Add the Chocolate Topping
Pour the melted chocolate over the pressed rice krispie layer. Use a spatula to spread it evenly across the entire surface, reaching all corners and edges.
Step 7: Let It Set
Leave the pan at room temperature for about 2 hours. The chocolate needs time to harden completely. You can speed up this process by refrigerating for 30 to 45 minutes, but room temperature setting creates a better texture.
Step 8: Cut and Serve
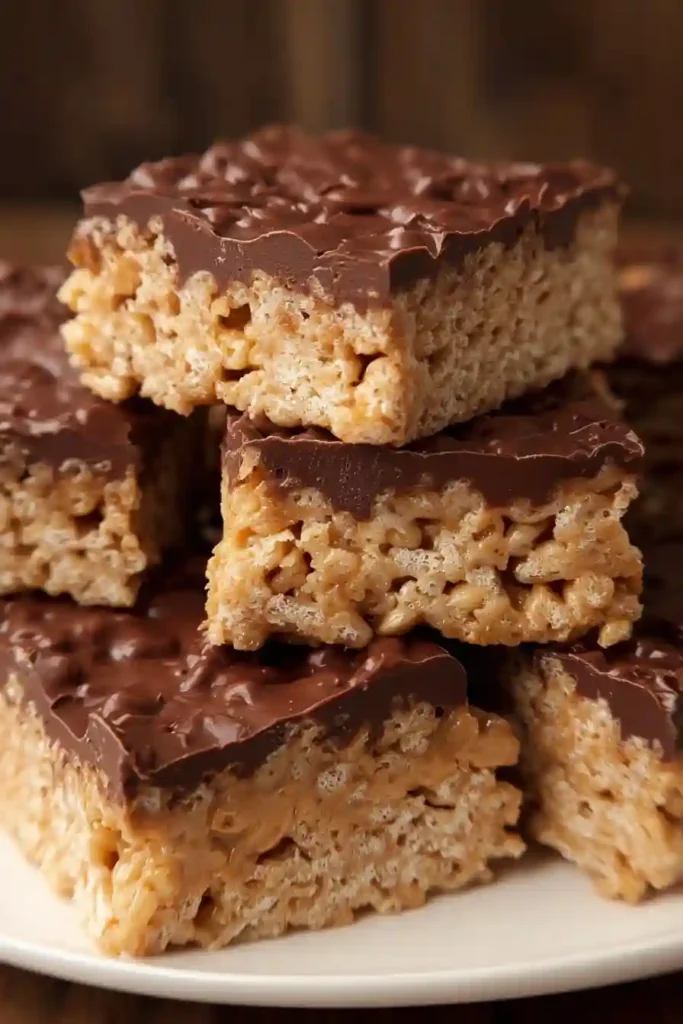
Once the chocolate hardens, cut the treats into squares. For clean cuts, use a sharp knife and wipe it between cuts.
You’ll get about 24 squares from a 9×13-inch pan, depending on how large you cut them.
Pro Tips and Variations for the Best Rice Krispie Treats Recipe
These tips will help you create perfect peanut butter krispy treats every single time.
Temperature Matters
Always use low heat when melting marshmallows. High heat causes them to become stringy and tough. Your final treats will turn out hard instead of chewy.
Fresh Marshmallows Work Best
Old, stale marshmallows don’t melt smoothly. Check the expiration date on your bag before starting. Fresh marshmallows create the softest, most delicious pb rice krispie treats.
Don’t Overmix
Once you add the cereal, fold gently. Aggressive stirring crushes the Rice Krispies and creates dense, compact treats instead of light, crispy ones.
Prevent Sticking
Keep a bowl of water nearby. Dip your spatula or hands in water occasionally to prevent sticking while pressing the mixture into the pan.
Making Chocolate Dipped Rice Krispie Treats
Want a fun variation? Skip the chocolate layer and make individual chocolate dipped rice krispie treats instead.
Cut the base into squares after it sets (without adding chocolate). Melt your chocolate with the oil. Dip each square halfway into the chocolate, then place on parchment paper to harden.
This method creates an attractive presentation perfect for parties or gift boxes.
Peanut Butter Krispies Variations
Add-Ins for Extra Flavor:
• Stir in 1/2 cup of mini chocolate chips to the base mixture for extra chocolate throughout
• Mix in 1/2 cup of chopped peanuts for added crunch
• Add a handful of mini peanut butter cups, chopped
Different Chocolate Options:
• Use white chocolate for a sweeter version
• Try dark chocolate for a more sophisticated taste
• Mix milk and dark chocolate for a balanced flavor
Nut-Free Version:
• Replace peanut butter with sunflower seed butter or cookie butter
• This makes them safe for school events with nut allergies
Salted Caramel Twist:
• Drizzle caramel sauce over the chocolate layer
• Sprinkle with flaky sea salt before the chocolate sets
Serving Suggestions for Chocolate Rice Crispy Treats
These chocolate rice crispy treats shine in many situations. Their versatility makes them perfect for almost any occasion.
After-School Snacks
Pack them in lunchboxes for a sweet surprise. Cut them into smaller squares for kid-sized portions. They stay fresh and don’t require refrigeration, making them ideal for school lunches.
Party Platters
Arrange these treats on a decorative platter alongside cookies and brownies. Their glossy chocolate top looks impressive and draws attention.
Cut them into different sizes. Make some larger squares for adults and smaller bites for children.
Game Day Treats
These travel well to tailgate parties and sporting events. Stack them in a container with parchment paper between layers. They won’t stick together and stay intact during transport.
Holiday Gatherings
Match the chocolate to your holiday theme. Use white chocolate and red sprinkles for Valentine’s Day. Add orange and black sprinkles for Halloween. Green and red sprinkles work perfectly for Christmas.
Coffee Break Companion
These peanut rice crispy treats pair wonderfully with coffee or milk. The chocolate and peanut butter flavors complement both beverages beautifully.
Dessert Bar Addition
Set up a dessert bar with various toppings. Provide crushed cookies, extra chocolate drizzle, caramel sauce, and whipped cream. Let guests customize their treats.
Storage and Make-Ahead Tips
Proper storage keeps your chocolate peanut butter rice crispy bars fresh and delicious for days.
Room Temperature Storage
Store the treats in an airtight container at room temperature. They stay fresh for 3 to 5 days. Place parchment paper or wax paper between layers to prevent sticking.
Keep them away from direct sunlight and heat sources. The chocolate will soften and melt in warm conditions.
Refrigerator Storage
You can refrigerate these treats, but it’s not necessary. Refrigeration makes the chocolate harder and the base slightly firmer. Some people prefer this texture, while others find it too hard.
If you refrigerate them, let them sit at room temperature for 10 minutes before serving. This softens them slightly for better texture.
Freezer Storage
These treats freeze beautifully for up to 2 months. Cut them into individual squares first. Wrap each square in plastic wrap, then place them all in a freezer-safe container or bag.
Thaw frozen treats at room temperature for about 30 minutes before eating. They taste freshly made after thawing.
Freezing works great for meal prep. Make a double batch and freeze half for future needs.
Conclusion
These Chocolate Peanut Butter Rice Krispie Treats prove that simple recipes often create the most memorable desserts. With just seven ingredients and 15 minutes of active time, you can make a treat that everyone loves.
The combination of crispy cereal, gooey marshmallow, rich peanut butter, and smooth chocolate creates perfect texture and flavor in every bite. They require no baking skills, no fancy equipment, and no expensive ingredients.
I’ve shared this recipe with dozens of friends over the years. It’s become my go-to dessert when I need something quick, reliable, and crowd-pleasing. The recipe never fails, and people always ask for seconds.
Make a batch this week. You’ll understand why these have become such a favorite in my kitchen. They might just become your new go-to recipe too.
FAQs
What Can I Make With Rice Krispies?
Rice Krispies are incredibly versatile. Beyond these chocolate peanut butter treats, you can make traditional marshmallow squares, cake pops, holiday-shaped treats, granola bars, and even savory snack mixes. You can also use them as a crunchy coating for chicken tenders or as a topping for ice cream sundaes.
Can I Use Regular Rice Krispies With Chocolate?
Absolutely. Regular Rice Krispies cereal works perfectly in this recipe. You can also use the chocolate-flavored Rice Krispies for an extra chocolate boost, or even try the strawberry variety for a fruit twist. Generic crispy rice cereals work just as well and cost less.
How Do I Store PB Rice Krispie Treats?
Store them in an airtight container at room temperature for 3 to 5 days. Layer parchment paper between stacks to prevent sticking. For longer storage, freeze individual wrapped squares for up to 2 months. Avoid storing them in humid areas, as moisture makes them soggy.
Why Did My Rice Krispie Treats Turn Out Hard?
Hard treats usually result from overheating the marshmallows or using too much cereal. Always melt marshmallows on low heat and remove them from heat as soon as they melt completely. Measure your cereal accurately. Old or stale marshmallows also create harder treats.
Can I Make These Treats Without Peanut Butter?
Yes. Replace the peanut butter with any nut or seed butter. Almond butter, cashew butter, and sunflower seed butter all work well. You can also use cookie butter for a different flavor profile. The texture remains the same regardless of which butter you choose.
How Do I Get Clean Cuts?
Use a sharp knife and wipe it clean with a damp cloth between each cut. You can also lightly spray the knife with cooking spray. For the cleanest cuts, let the treats set completely before cutting, and cut them while still in the pan rather than removing the entire block first.
Chocolate Peanut Butter Rice Krispie Treats
Ingredients
Method
- Line an 8×8-inch baking pan with parchment paper and lightly grease it. Set aside.
- In a large saucepan over low heat, melt the butter and 1/2 cup of peanut butter together until smooth. Add the marshmallows and stir continuously until completely melted and combined.
- Remove from heat and quickly stir in the rice cereal until evenly coated with the marshmallow mixture.
- Press the mixture firmly and evenly into the prepared pan using a spatula or wax paper.
- In a microwave-safe bowl, melt the chocolate chips and 1/4 cup peanut butter together in 30-second intervals, stirring between each until smooth.
- Pour the melted chocolate mixture over the cereal base and spread it evenly to cover the top.
- Refrigerate for 30 minutes, or until the topping is set. Cut into squares and enjoy!
Notes
Total Fat: 7g
Saturated Fat: 3g
Trans Fat: 0g
Cholesterol: 5mg
Sodium: 95mg
Total Carbohydrates: 24g
Dietary Fiber: 1g
Sugars: 16g
Protein: 3g