Peanut Butter Rice Krispie Treats are the ultimate no-bake dessert that combines crispy cereal with creamy peanut butter in every delicious bite. I still remember the first time I made these treats for a family gathering. My niece couldn’t stop asking for “just one more square,” and by the end of the evening, the entire pan had vanished.
These pb rice krispie treats require only a handful of ingredients and take less than 15 minutes to prepare. No oven needed. No complicated techniques. Just simple mixing and pressing into a pan.
What makes this recipe special is the perfect balance between sweet and salty. The peanut butter adds richness and protein, making these treats more satisfying than traditional rice krispie desserts. Whether you’re preparing a quick snack for kids, bringing dessert to a potluck, or satisfying a late-night craving, these peanut butter rice krispie squares deliver every time.
Table of Contents
Ingredients
This best rice krispie treats recipe uses basic pantry staples you probably already have at home. The ingredient list is short, but each component plays an important role in creating the perfect texture and flavor.
What You’ll Need:
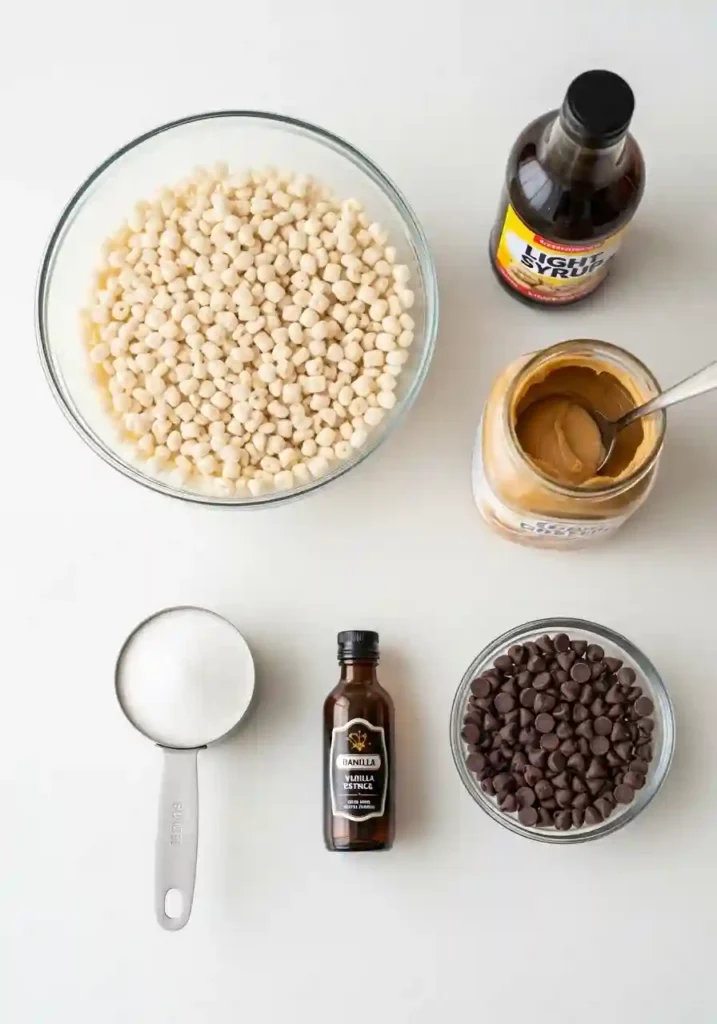
• 3 cups Rice Krispies cereal
• 1 cup granulated sugar
• 1 cup light corn syrup
• 1 cup creamy peanut butter
• 1 teaspoon vanilla extract
Optional Chocolate Topping:
• 1 cup chocolate chips (semi-sweet or milk chocolate)
• 2 tablespoons creamy peanut butter
The cereal provides the signature crispy texture. Sugar and corn syrup create the binding syrup that holds everything together. Peanut butter is the star ingredient that sets these apart from classic treats. Vanilla extract enhances all the flavors.
Choose creamy peanut butter over crunchy for smooth, consistent texture throughout. Regular brands like Jif or Skippy work best. Natural peanut butters can make the mixture too oily and prevent proper setting.
Instructions
Making easy rice crispy treats takes just a few simple steps. Work quickly once you start, as the mixture sets fast.
Step 1: Prepare Your Pan
Line a 9×13 inch baking pan with parchment paper or spray with non-stick cooking spray. Set aside.
Step 2: Measure the Cereal
Pour 3 cups of Rice Krispies cereal into a large mixing bowl. Keep it ready near your stove.
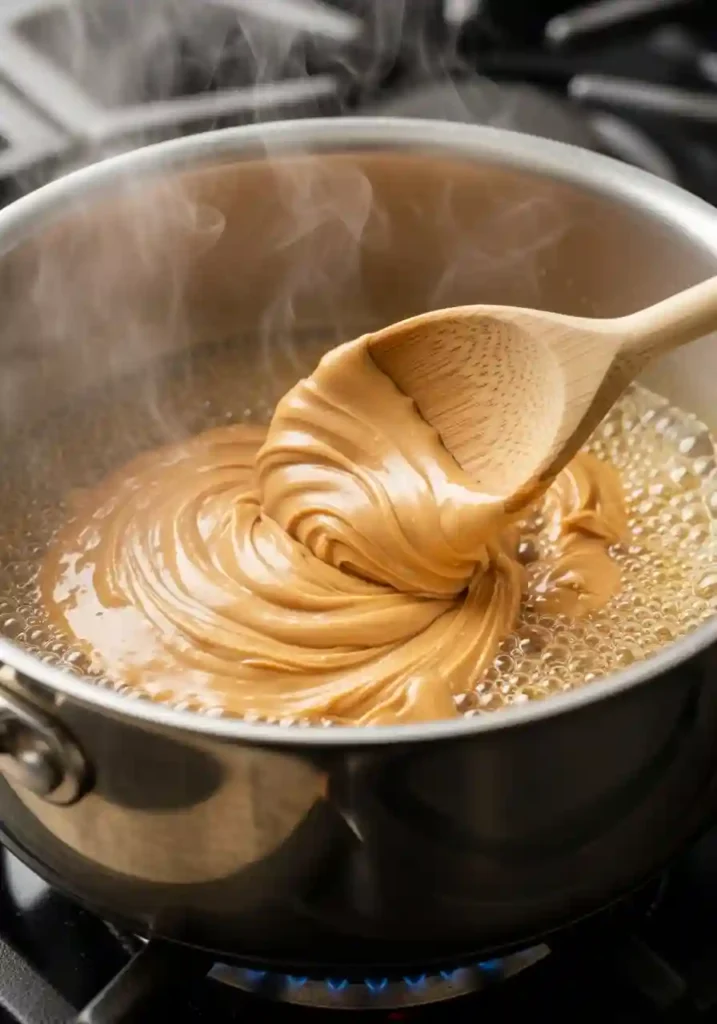
Step 3: Make the Peanut Butter Syrup
In a medium saucepan, combine sugar and corn syrup over medium heat. Stir constantly until the mixture comes to a rolling boil. Remove from heat immediately. Do not overcook, or your treats will turn hard.
Step 4: Add Peanut Butter and Vanilla
Quickly stir in the peanut butter and vanilla extract until completely smooth. The residual heat will melt the peanut butter perfectly.
Step 5: Combine with Cereal
Pour the hot peanut butter mixture over the Rice Krispies cereal. Using a rubber spatula, fold everything together until every piece of cereal is coated evenly.
Step 6: Press into Pan
Transfer the mixture to your prepared pan. Using the spatula or slightly damp hands, press the mixture firmly and evenly into the pan. Work quickly before it cools and hardens.
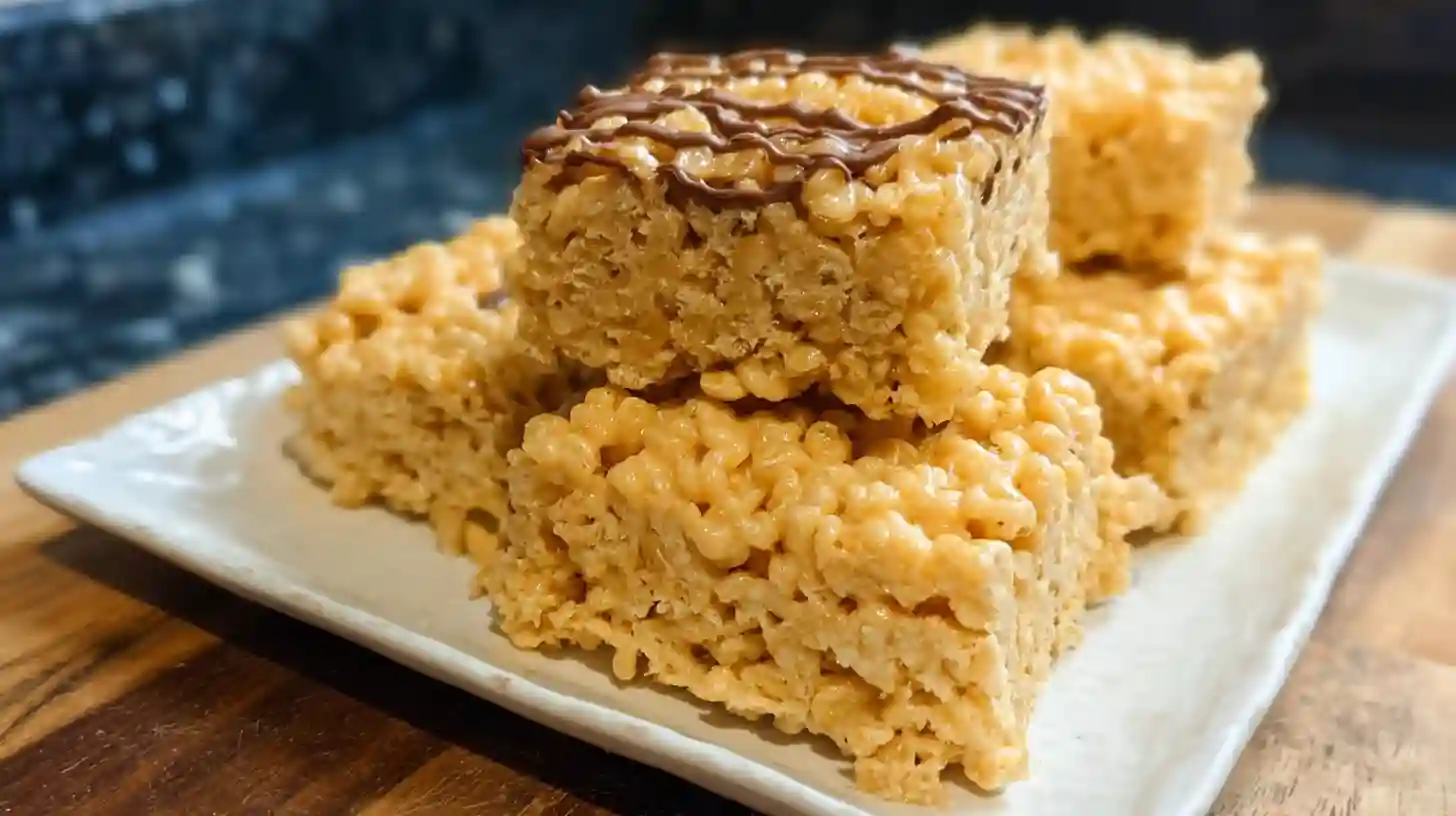
Step 7: Add Chocolate Topping (Optional)
For chocolate peanut butter rice crispy bars, melt chocolate chips with 2 tablespoons peanut butter in the microwave. Heat in 30-second intervals, stirring between each, until smooth. Spread over the pressed treats.
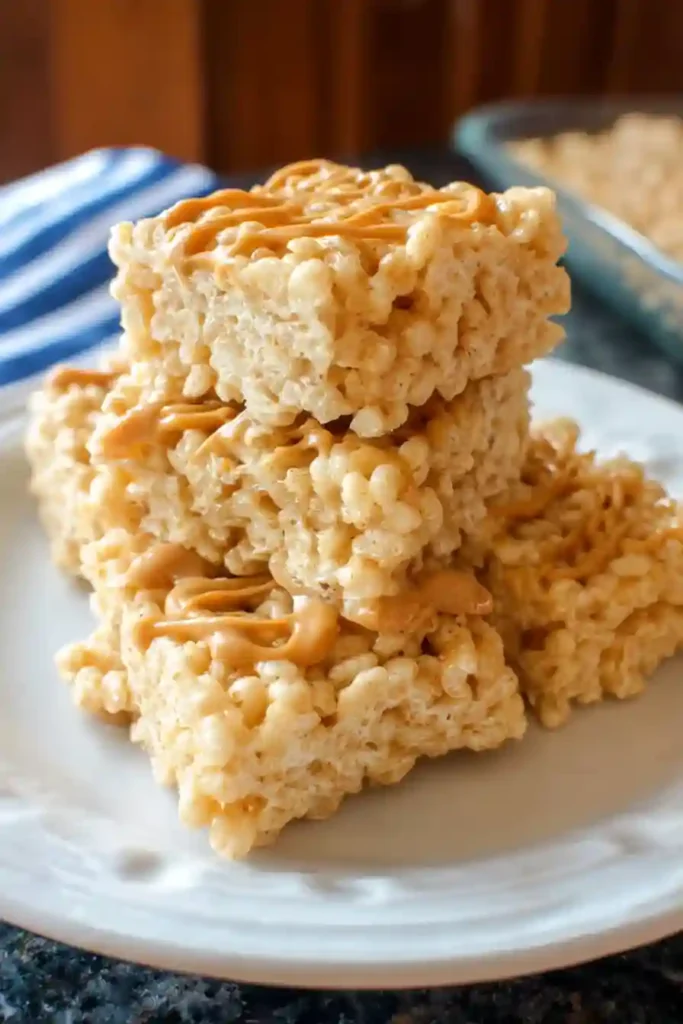
Step 8: Cool and Cut
Let the no bake peanut butter rice crispy bars cool completely at room temperature for about 30 minutes. If you added chocolate, refrigerate for 15 minutes to set the topping. Cut into 24 squares using a sharp knife.
Pro Tips and Variations
These tips will help you make perfect treats every time and customize them to your taste.
Expert Tips:
Work fast after removing the syrup from heat. The mixture sets quickly as it cools.
Don’t boil the syrup too long. Just bring it to a rolling boil, then remove it immediately. Overcooked syrup makes rock-hard treats.
Press gently but firmly. You want compact squares that hold together, but pressing too hard makes them dense and tough.
Use fresh cereal. Stale Rice Krispies won’t give you that signature snap and crunch.
Grease your spatula or hands lightly when pressing the mixture. This prevents sticking.
Delicious Variations:
Chocolate Peanut Butter Rice Crispy Bars: Mix 1/2 cup mini chocolate chips directly into the cereal mixture before pressing. Top with melted chocolate for double chocolate goodness.
Peanut Butter Butterscotch Rice Krispies: Replace half the peanut butter with butterscotch chips. The caramel notes complement the peanut butter beautifully.
Dipped Rice Krispie Treats: Cut into squares, insert popsicle sticks, and dip halfway into melted chocolate. Let set on parchment paper for an elegant presentation.
Add-In Ideas: Fold in mini M&Ms, chopped Reese’s cups, toffee bits, or crushed pretzels for extra texture and flavor.
Nut-Free Version: Substitute sunflower seed butter or cookie butter for peanut butter. The recipe works exactly the same way.
Serving Suggestions
Peanut butter rice krispie squares are versatile rice krispie desserts that work for any occasion.
Serve them at room temperature for the best texture. The treats are soft enough to bite easily but firm enough to hold their shape.
These treats are perfect for:
School lunches and snacks: Individually wrap squares in plastic wrap for grab-and-go convenience.
Birthday parties: Cut into larger rectangles and decorate with colorful sprinkles or drizzled chocolate.
Bake sales: Stack them on a platter with parchment between layers. They’re always the first dessert to sell out.
Game day gatherings: Cut into bite-sized pieces and arrange on a serving tray.
Holiday gifts: Package in decorative boxes or tins. They stay fresh for up to a week.
Pair these treats with cold milk, hot coffee, or vanilla ice cream for an extra special dessert experience. The salty-sweet combination also pairs wonderfully with fresh fruit like sliced apples or strawberries.
For parties, create a stack of peanut butter rice krispie treats on a cake stand. The height adds visual appeal, and guests can easily grab their own piece.
Conclusion
This krispie treats recipe proves that simple ingredients can create extraordinary desserts. With just five basic items and 15 minutes of your time, you’ll have a pan full of crowd-pleasing treats that rival any bakery version.
The beauty of these peanut butter recipes lies in their flexibility. Make them classic with just peanut butter, add chocolate for extra indulgence, or experiment with the variations to find your perfect combination.
These treats have become a staple in my kitchen because they never fail. Kids love them. Adults appreciate the nostalgic flavor with a grown-up twist. And the no-bake method means you can make them any time, even on the hottest summer days.
Whether you’re an experienced baker or a complete beginner, you’ll nail this recipe on your first try. The foolproof method guarantees success every time.
FAQs
How long do peanut butter rice krispie treats last?
Store them in an airtight container at room temperature for up to 5 days. For longer storage, refrigerate for up to 2 weeks or freeze for up to 2 months. Bring to room temperature before serving for the best texture.
Can I use natural peanut butter?
Regular processed peanut butter works best for this recipe. Natural peanut butter contains too much oil and not enough stabilizers, which can prevent the treats from setting properly. Stick with brands like Jif, Skippy, or Peter Pan.
Why are my rice krispie treats hard?
You likely cooked the sugar syrup too long. The mixture should come to a rolling boil and then be removed from heat immediately. Overcooking creates a harder candy-like texture. Also, pressing too firmly when forming the treats can make them dense.
Can I make these without corn syrup?
Yes, but the texture will change. You can substitute honey or maple syrup, though the treats may be slightly softer. For the closest texture to the original, corn syrup is your best choice.
How do I cut clean squares?
Use a sharp knife sprayed with non-stick cooking spray. Wipe the knife clean between cuts. For the cleanest cuts, chill the treats for 15 minutes before slicing.
Can I double this recipe?
Absolutely. Use two 9×13 inch pans or one large sheet pan. Keep the cooking time the same, but work quickly when mixing, as you’ll have more volume to handle before it cools.
What if I don’t have vanilla extract?
You can skip it entirely or substitute with almond extract for a different flavor profile. The treats will still taste delicious without it.
Are these gluten-free?
Rice Krispies cereal contains malt flavoring, which comes from barley and contains gluten. For a gluten-free version, use certified gluten-free crispy rice cereal brands.
Peanut Butter Rice Krispie Treats
Ingredients
Method
- Line a 9×13-inch pan with parchment paper and lightly grease it. Set aside.
- In a large saucepan, melt butter over low heat. Add peanut butter and stir until smooth and fully combined.
- Add marshmallows and stir constantly until they are completely melted and the mixture is creamy.
- Remove from heat and immediately stir in the Rice Krispies cereal. Mix until all the cereal is evenly coated.
- Transfer the mixture into the prepared pan. Press it down gently with a spatula to create an even layer (don’t compact too firmly or the bars will be hard).
- Let cool for about 30 minutes. Once set, drizzle melted chocolate on top if desired and cut into squares to serve.